


Microsoft recently included a Data updated feature in Power BI Service, a date which indicates a report’s last refresh date and time. This information is available when clicking on the title of the report.
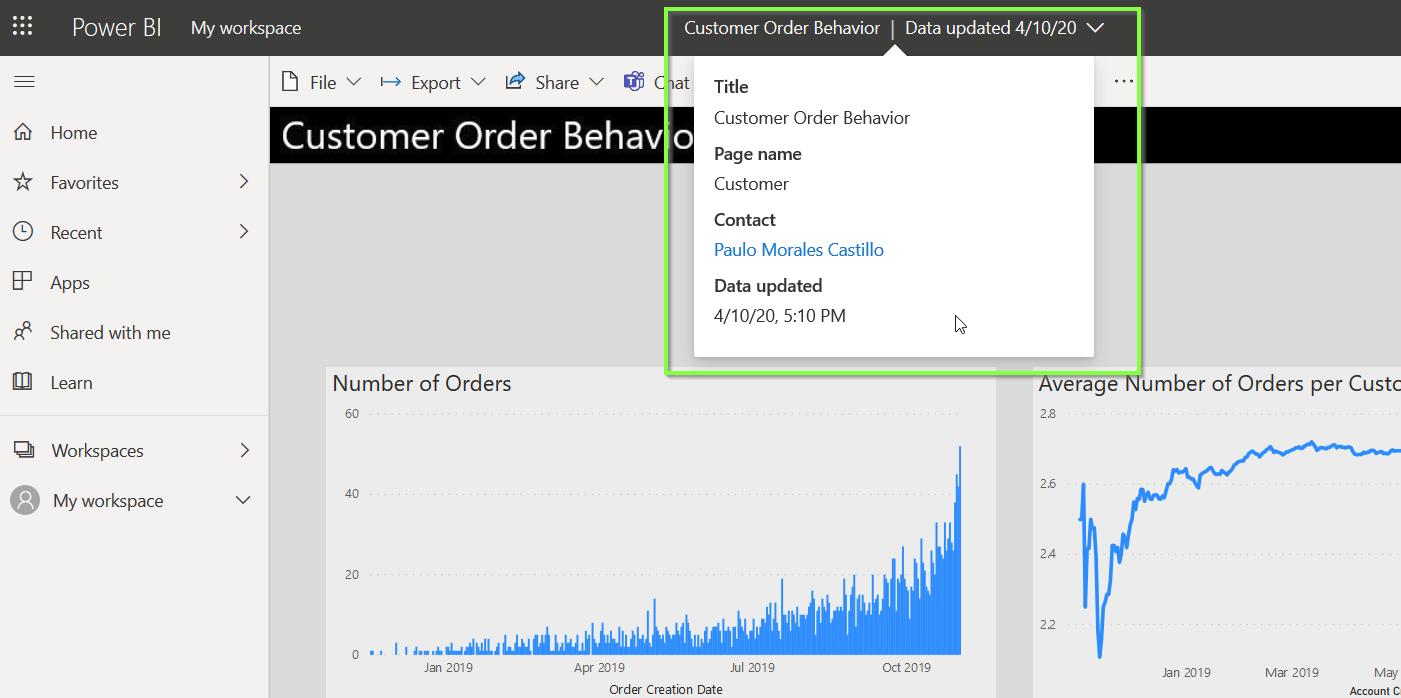
Although now available, the date and time are not obvious to find. The date and time are also not available when exporting a report to e.g. a PDF file. For this reason, it is convenient to include the last update timestamp in the report itself.
There are different ways to achieve this goal. The one that works best for me is the one described by BI Elite.
From Power BI Query Editor:
-
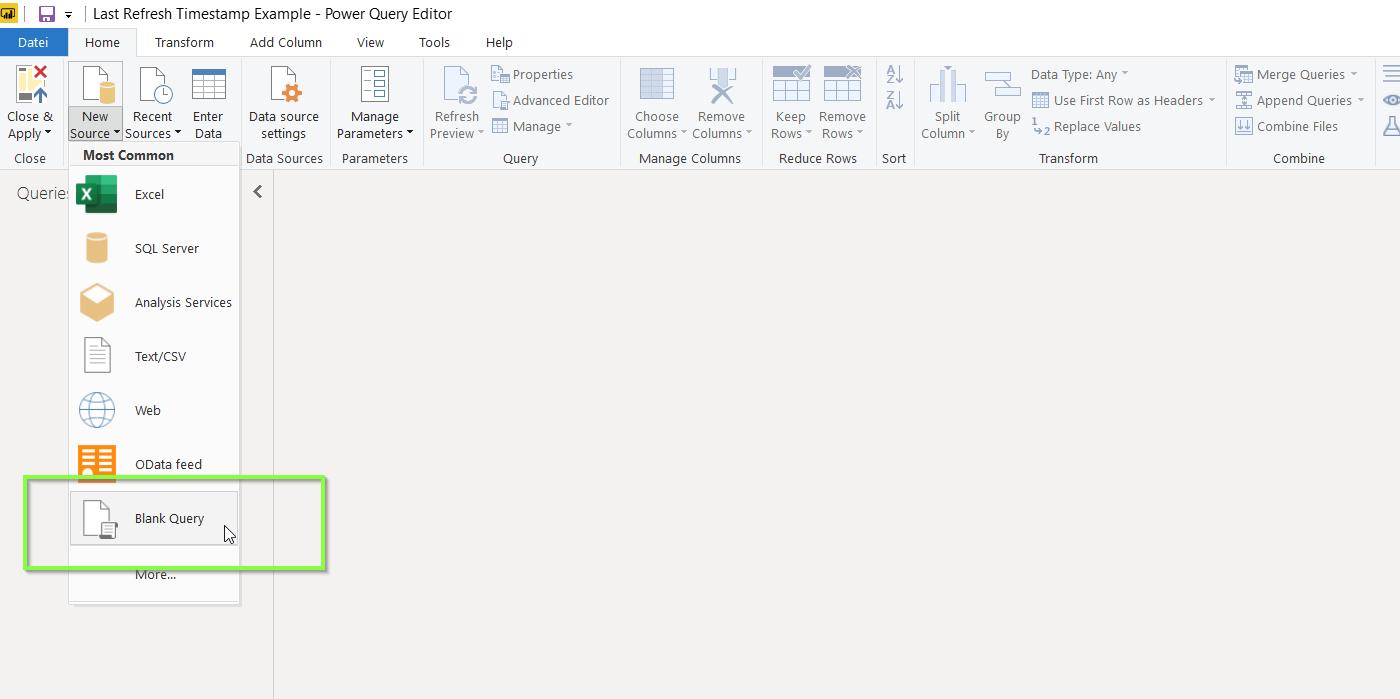
Create a new blank query by going to Home > New Source > Blank Query.
-
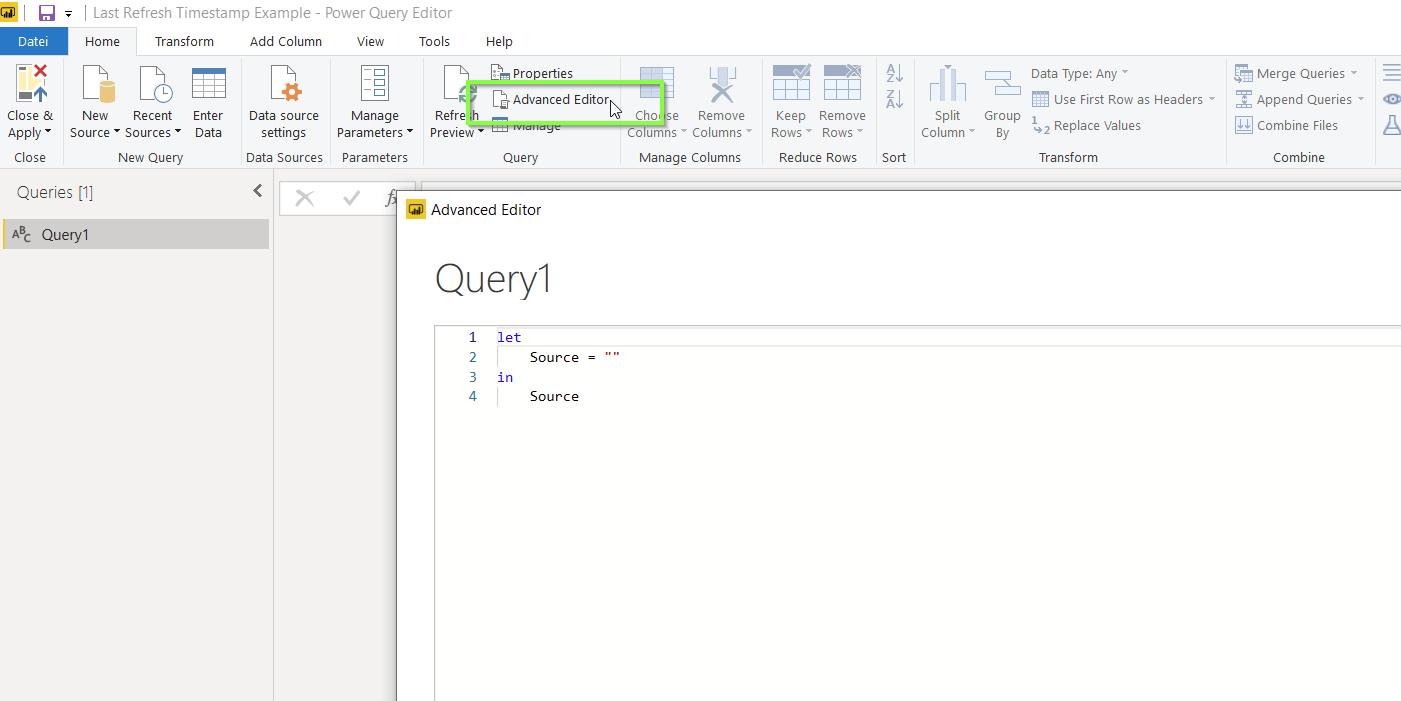
Now we connect Power BI Desktop to the API data from worldtimeapi.org. Select the blank query you just created and then go to Home > Advanced Editor.
-
Copy the following M code and paste it into the Advanced Editor. Then click on Done.
let Source = Json.Document( Web.Contents(" http://worldtimeapi.org/api/timezone/")), #"Converted to Table" = Table.FromList( Source, Splitter.SplitByNothing(), null, null, ExtraValues.Error), #"Choose your time zone" = Table.SelectRows( #"Converted to Table", each ([Column1] = "Europe/Berlin")), #"Added Custom" = Table.AddColumn( #"Choose your time zone", "Custom", each Json.Document( Web.Contents( "http://worldtimeapi.org/api/timezone/", [RelativePath = [Column1]]))), #"Expanded Custom" = Table.ExpandRecordColumn( #"Added Custom", "Custom", {"datetime"}, {"Custom.datetime"}), #"Changed Type" = Table.TransformColumnTypes( #"Expanded Custom", {{"Custom.datetime", type datetimezone}}), #"Changed Type1" = Table.TransformColumnTypes( #"Changed Type", {{"Custom.datetime", type datetime}}), #"Removed Columns" = Table.RemoveColumns( #"Changed Type1", {"Column1"}), #"Renamed Columns" = Table.RenameColumns( #"Removed Columns", {{"Custom.datetime", "timestamp"}}) in #"Renamed Columns" -
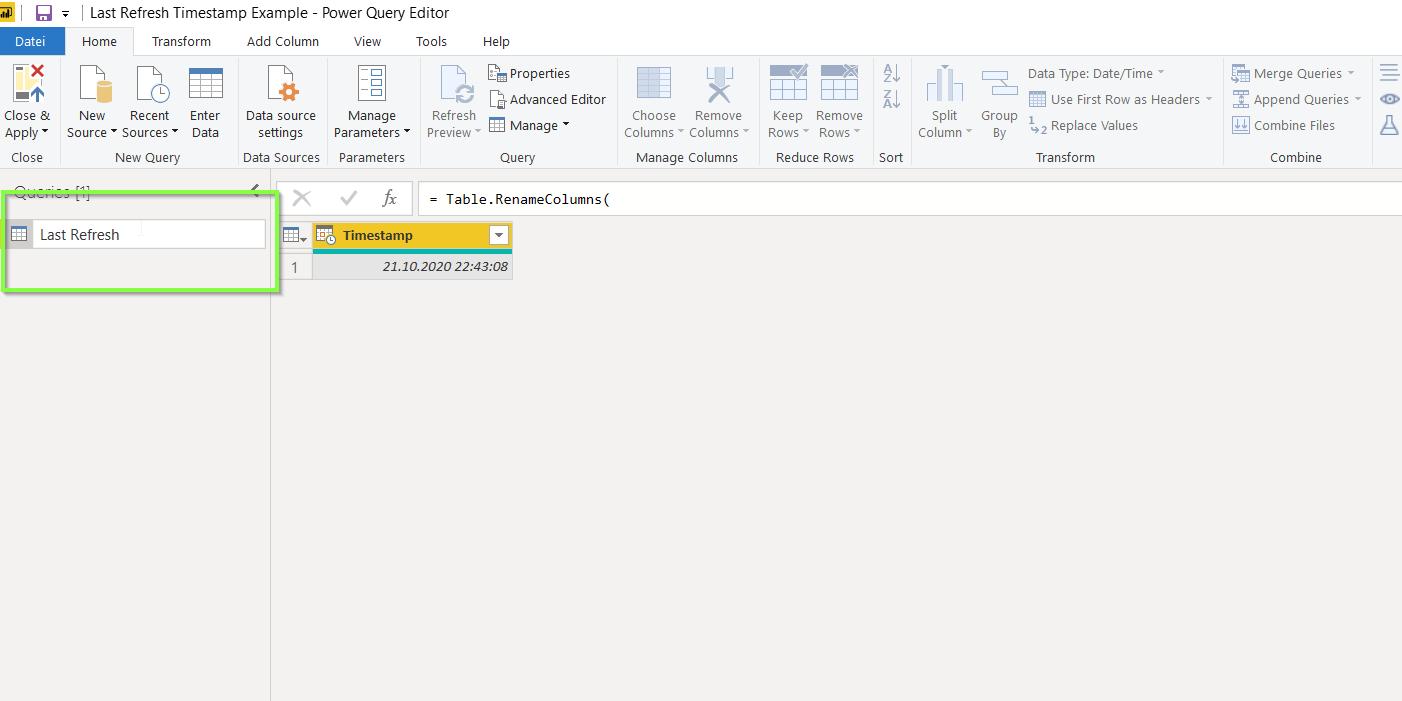
Rename the query as ‘Last Refresh’.
-
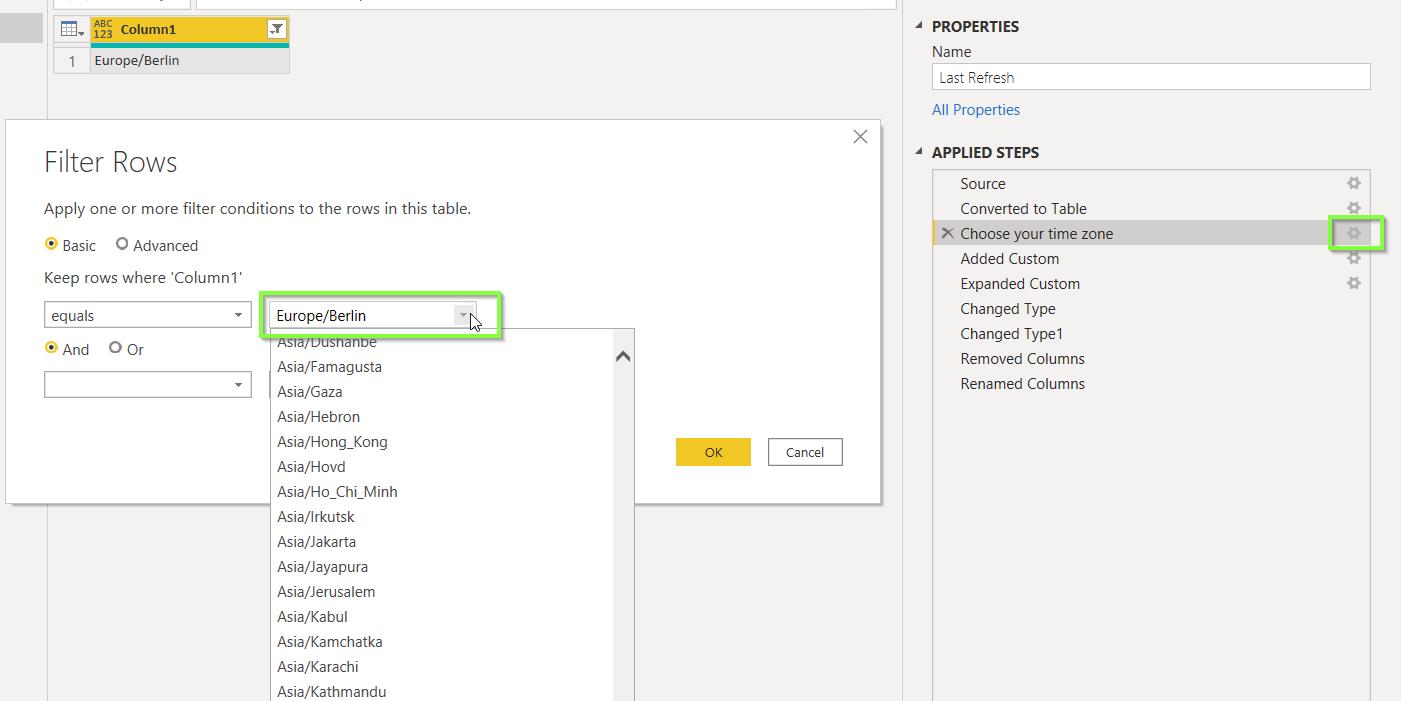
Change the time zone according to your needs. Refer to the Query Settings pane, locate the step Choose your time zone and then click on the settings wheel. Select your time zone from the drop down menu.
-
Click Ok and click on Home > Close & Apply.

-
You have created the table “Last Refresh” containing the current date and time in the time zone selected. Now you can display this timestmap in the report. From Report editor, create a card visual and include the timestamp.
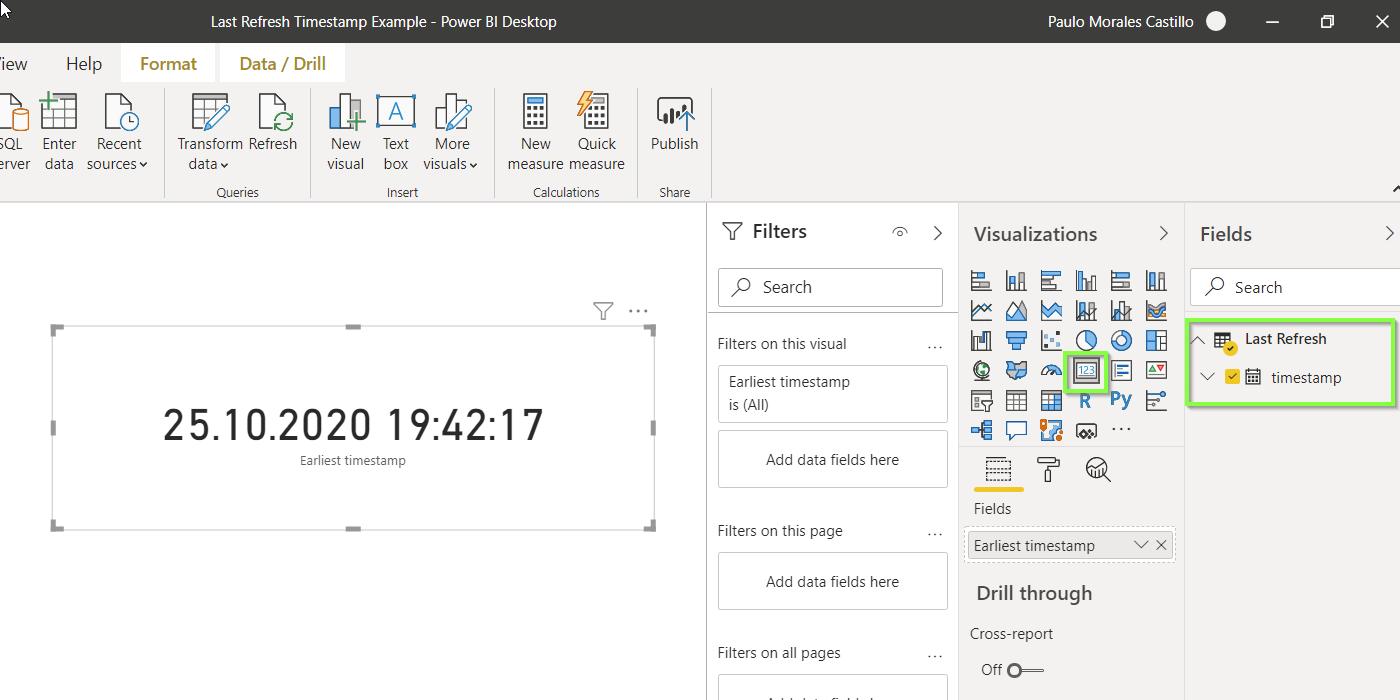
Everytime your report gets refreshed, the M code in the background will run and update the timestamp of “Last Refresh.”


